Sending emails without a signature is like ending a letter without your name. If you want your emails to look clean and smart, you should always setup email signature Outlook the right way. A good signature helps people know who you are. It also makes your message look more like a professional email.
Here’s a step-by-step guide to help you do it. You don't need to be a tech expert. Just follow along and you’ll have a great professional email signature in no time.
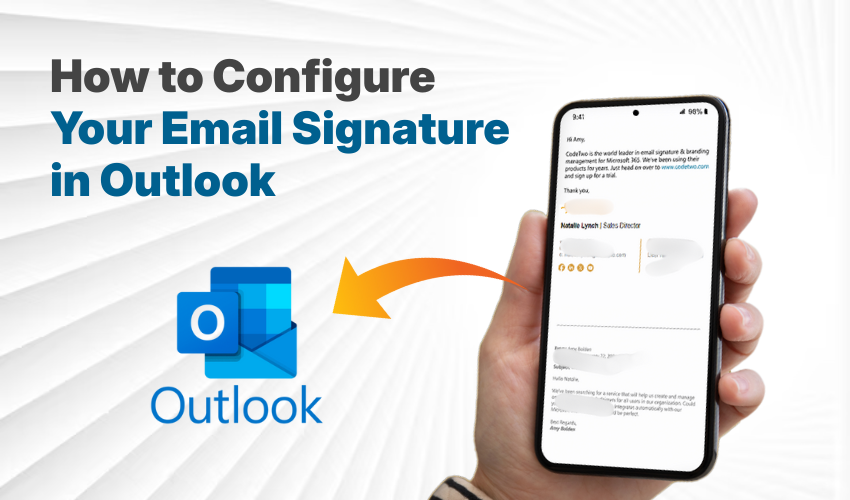
First, you need to open your Outlook settings. This is where you’ll begin to setup email signature Outlook.
If you are using the Outlook app on a computer:
If you are using Outlook on the web (Outlook.com):
Now you can type what you want your email signature to say. A good professional email signature should have:
Keep it short and clean. When you setup email signature Outlook, make sure it looks neat and easy to read. This is what helps create a professional email look.
You can make your signature look better with some styling.
Just remember: the goal is a professional email, not a colorful flyer. So don’t overdo it.
Outlook lets you choose when to use your signature.
This step is key when you setup email signature Outlook. It saves time and adds your signature automatically each time you send an email.
Don’t forget to save your work.
This way, you’ll know your professional email signature looks just right.
You can always go back and change your signature.
It’s smart to update your professional email signature when your job, phone number, or company details change.
When you setup email signature Outlook the right way, your emails look neat and serious. People will trust your message more when you use a clear, professional email style.