Having one printer for many computers at home can save both money and time. Instead of plugging and unplugging cables every time you print, you can use one printer from any computer on your home Wi-Fi. To do this, you need to share printer Windows and complete a proper network printer setup.
This article will help you learn how to share printer Windows and finish network printer setup using easy steps.
Before sharing a printer, check a few things:
Once all these are done, follow the steps below to share printer Windows and complete your network printer setup.
The first thing to do is connect your printer to a main computer. This computer will act as the host. Connect the printer with an associated USB cable or through Wi-Fi.
After you connect the printer, make sure it works by printing a test page. This step is important before you share printer Windows with others.
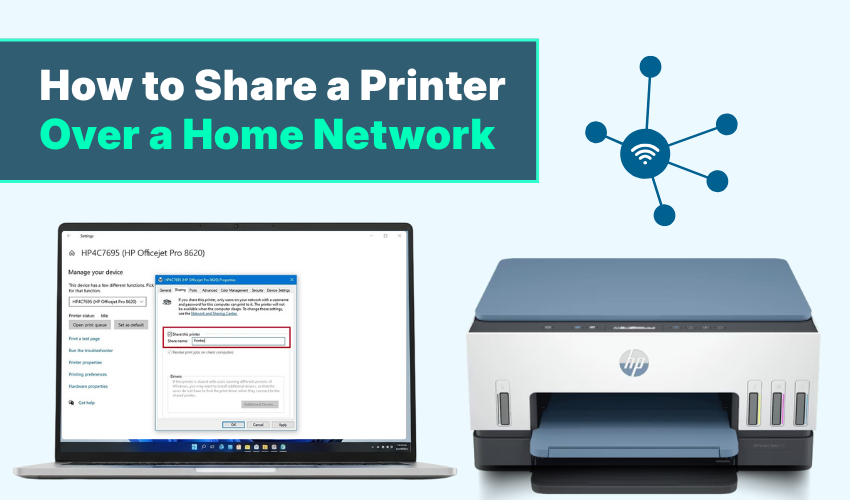
Now, set up printer sharing on the main computer.
After this, you have completed half of the network printer setup.
Network discovery allows other devices to find your shared printer.
This step is key for share printer Windows to work smoothly in your home.
Now, set up the other computers to use the printer:
This connects your other PC to the shared printer, completing your network printer setup.
Once the network printer setup is complete, you can print from any connected computer. Open any file, click Print, and select the shared printer.
If the main PC (host) is off, the other computers might not find the printer. Keep that in mind when you share printer Windows.
If you face problems while doing network printer setup, try the following:
These tips will help if you’re stuck trying to share printer Windows.
Using one printer for many PCs makes life easier. The process of network printer setup takes just a few steps, and once you share printer Windows, anyone on your network can print with ease. Save money, save space, and enjoy stress-free printing at home.
By following these simple steps, your printer will be shared across your home without any extra wires or hardware.