Connecting a projector to your computer can help with presentations, movie nights, or classroom use. You don’t need to be a tech expert to do it. This external display guide will show you how to complete a projector setup Windows users can follow without confusion. If you use Windows, the steps are simple and will work for most projectors.
Before anything, look at the ports on your computer and projector. Most Windows computers have HDMI or VGA ports. Newer ones may have USB-C. Your projector should have one of these ports too. Match the cable with the right port for your projector setup Windows system needs. If your computer and projector don’t share a common port, use an adapter.
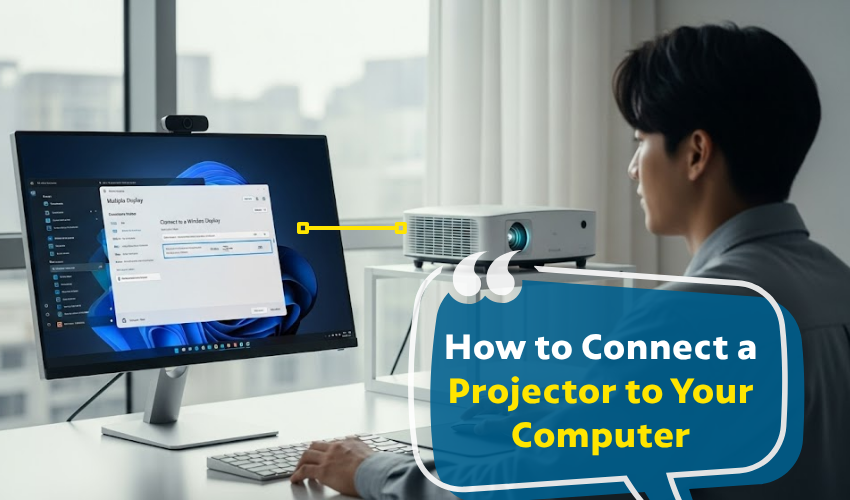
Turn off your computer and projector before connecting. Plug the cable into the projector and the computer. Then turn both devices on. After that, Windows should detect the projector. If not, don’t worry — this external display guide will help you fix that.
Press Windows key + P to open the display settings quickly. A sidebar will appear with these four options:
Choose the one that fits your purpose. For most projector setup Windows tasks, people choose Duplicate for easy viewing.
If the projector doesn't show anything, go to Settings > System > Display. Scroll down and click Detect. Once Windows successfully finds your projector, use the external display guide options to arrange the screens. You can adjust brightness, resolution, and screen position.
Sometimes the image looks blurry or stretched. That means your resolution doesn’t match the projector’s settings. Go back to Settings > Display > Advanced display settings. Try lowering or changing the resolution until the screen looks clear. Many projector setup Windows problems can be fixed this way.
If you want to use only the projector, go to Display Settings and check the box that says Make this my main display. This will send all activity to the projector. The external display guide option will help you if you need to switch it back later.
Projectors usually don’t play sound unless they have speakers. If your projector has built-in speakers, go to Control Panel > Sound > Playback, and select the projector as the default audio device. This projector setup Windows step is often skipped but makes a big difference during presentations or videos.
This external display guide should help you set up everything smoothly.
If your projector isn’t showing anything:
Windows often fixes these issues with a restart or update. Following the projector setup Windows steps again can help if the projector disconnects suddenly.
Now you know how to complete a projector setup Windows users can rely on. This external display guide makes the connection simple for work, school, or fun. Once you’ve done it a few times, it becomes easy and quick. Just follow the steps and enjoy the large screen experience.