Changing your default printer in Windows is easy once you know where to look. If you use more than one printer, setting the right one as your default helps save time. The default printer is the one your computer uses automatically when you print something. In this guide, you’ll learn how to change default printer Windows and manage your printer settings step by step.
You may want to change default printer Windows if:
No matter your reason, changing the printer settings is a simple task anyone can do.
Here’s how to change the printer settings and pick a new default printer in Windows:
This opens the printer settings page where you can view all the printers installed on your PC.
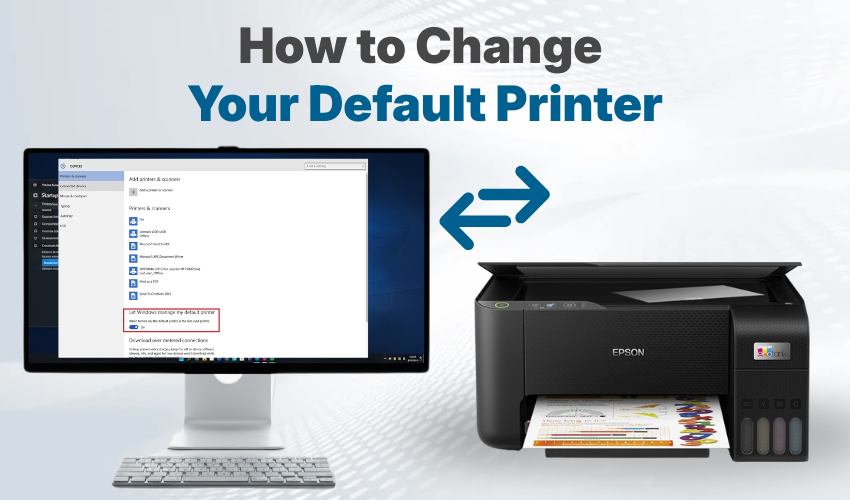
Sometimes, Windows chooses the last used printer as the default. To stop that, you must turn off this option.
Now, you can manually change default printer Windows without interference.
That’s it! You’ve just updated your printer settings to pick the default printer you want.
You can go back to the Printers & scanners section in printer settings. The default printer will have a green checkmark or say “Default” next to it.
There are a few other methods if you prefer a different way:
Method 1: Using Control Panel
This also updates the printer settings quickly.
Method 2: Using the Print Dialog Box
Sometimes, when you go to print a document, the print window will show a list of printers. You can choose the one you want and check a box that says “Set as default printer.” This is another easy way to change default printer Windows on the spot.
Being acquainted with the right process on how to change default printer Windows is helpful whether you use one printer or many. You can do it through printer settings, the Control Panel, or even while printing. Make sure your default printer is always the one you use most often. This saves time and makes printing tasks easier every day.
Now that you know how to manage your printer settings, you can switch printers quickly whenever you need!