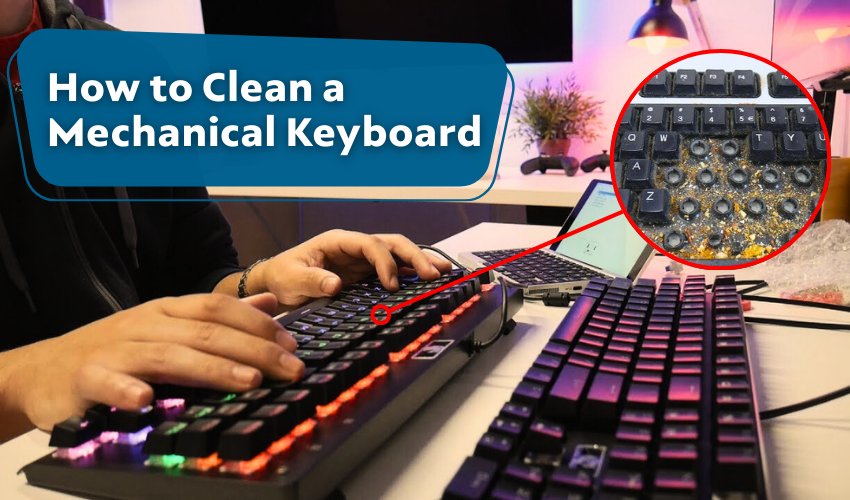
How to clean a mechanical keyboard

How to Clean a Mechanical Keyboard
A mechanical keyboard lasts longer when cared for properly. Regular cleaning stops dust buildup, sticky keys, and worn-out switches. By learning how to clean keyboard, maintain mechanical keys, and remove keyboard dust, you can keep your device working like new. Follow these simple steps.
Gather Your Cleaning Tools First
You will need:
- Small soft brush or keyboard brush
- Microfiber cloth
- Compressed air can
- Mild soap or isopropyl alcohol
- Keycap puller (for some keyboards)
These tools help you clean keyboard parts and keep mechanical keys in good condition.
1. Turn Off and Unplug the Keyboard
Unplug your keyboard or turn off your computer before cleaning. Remove batteries if it is a wireless keyboard. This prevents accidental key presses and damage while you clean keyboard dust.
2. Remove Loose Debris
Turn the keyboard upside down and then shake gently to remove crumbs and dust. Use a soft brush to loosen any remaining dirt around mechanical keys. This is the first step to remove keyboard dust effectively.
3. Use Compressed Air
Spray compressed air between keys to remove keyboard dust from hard-to-reach areas. Move slowly to avoid moisture. Repeat for areas where mechanical keys seem to trap dust.
4. Remove Keycaps (Optional but Recommended)
If possible, remove keycaps with a keycap puller. Soak the keycaps in warm, soapy water for about 10–15 minutes. This helps clean keyboard keys deeply and remove keyboard dust from surfaces and edges.
5. Clean Keycaps
Gently scrub keycaps with a soft brush or cloth. Rinse them with clean water and let them dry completely. Clean keyboard keys and mechanical keys this way to keep them smooth.
6. Wipe the Keyboard Surface
Dampen a microfiber cloth by dipping the same into a little isopropyl alcohol or mild soap. Wipe the keyboard surface carefully, especially around mechanical keys. Regular wiping prevents sticky keys and helps remove keyboard dust.
7. Reassemble the Keyboard
Once it has been dry, you need to carefully fit the keycaps back where they were. Press each key until it clicks as usual. Ensure all mechanical keys have been properly positioned. The keyboard is now clean, and ready for use.
8. Maintain a Regular Cleaning Routine
Clean keyboard dust and maintain mechanical keys every few weeks. Light brushing keeps your keyboard working at its best.
Effective Tips for Effective Cleaning
- Avoid harsh chemicals that can damage mechanical keys.
- Do not submerge the entire keyboard in water.
- Use a cover when not in use to reduce dust.
- Handle keycaps gently to avoid breaking switches.
Conclusion
Learning to clean your keyboard, take care of mechanical keys, and remove dust keeps maintenance easy. Accurate cleaning keeps keys moving smoothly, stops dust from piling up, and helps your keyboard last longer. A clean keyboard also makes typing more comfortable and improves performance.
