Switching to an SSD (solid-state drive) is one of the best ways to speed up your computer. It can make everything load faster, from starting your system to opening programs. The good news? You don’t have to start fresh or reinstall anything. You can copy your entire old hard drive onto the new SSD. This process is called “cloning.”
Here’s a simple, clear guide on how to do it.
Before doing anything, back up your important files. Even though cloning usually works fine, it's better to be safe. You can use an external drive or a cloud service like Google Drive or OneDrive.
Use the USB-to-SATA cable or an enclosure to connect the SSD to your computer. If you're using a desktop with extra slots, you can plug it directly into the motherboard.
Your computer should detect the SSD automatically. If not, open Disk Management (on Windows) and check if it’s listed. You may need to initialize the SSD (the system will guide you through this).
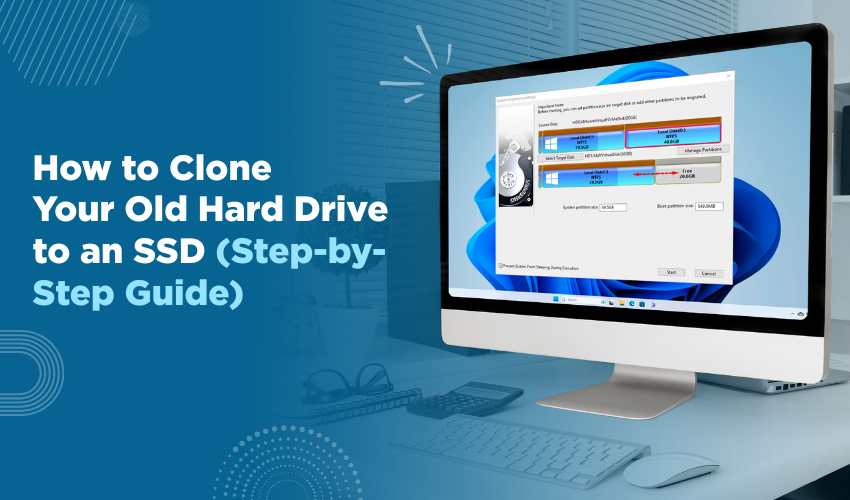
Download and install cloning software. Macrium Reflect Free or EaseUS Todo Backup Free are popular options. Once installed, open the program. It will show both your old hard drive and your new SSD.
Here’s what to do inside the cloning software:
The software will now begin cloning. This can take a while, depending on how much data you have. You can usually use your computer during the process, but it’s best not to run heavy programs.
Once cloning is complete:
When you start the computer, it should boot up from the SSD. Everything should look and feel exactly the same, just much faster.
After you’ve confirmed everything works on the SSD, you can wipe the old drive and use it for extra storage or backups.
To do this:
Make sure you’re formatting the right drive.
Cloning saves you the hassle of reinstalling Windows and all your programs. Once done, your computer will feel new, with all your old data in place, but working much faster.