Windows Hello offers a fast, secure, and user-friendly way to sign into your device without typing long passwords each time. With features like fingerprint setup and face unlock, you gain both convenience and improved protection for your computer. Many Windows users prefer these options because they combine speed with biometric accuracy. Below, you will find step-by-step methods to configure both.
Passwords remain the most common login method, but they can be guessed, stolen, or forgotten. Windows Hello improves security through physical traits that only you possess. Whether you prefer a fingerprint setup or face unlock, the process ensures that access stays in your hands alone. Microsoft built this system to integrate smoothly with supported devices, so once you enable it, you can sign in within seconds.
Before starting, confirm a few essentials:
Your device must support Windows Hello. Many laptops already include fingerprint readers or infrared cameras.
Install the latest Windows updates to prevent compatibility issues.
Have a PIN ready, since Windows asks you to set one before enabling biometrics.
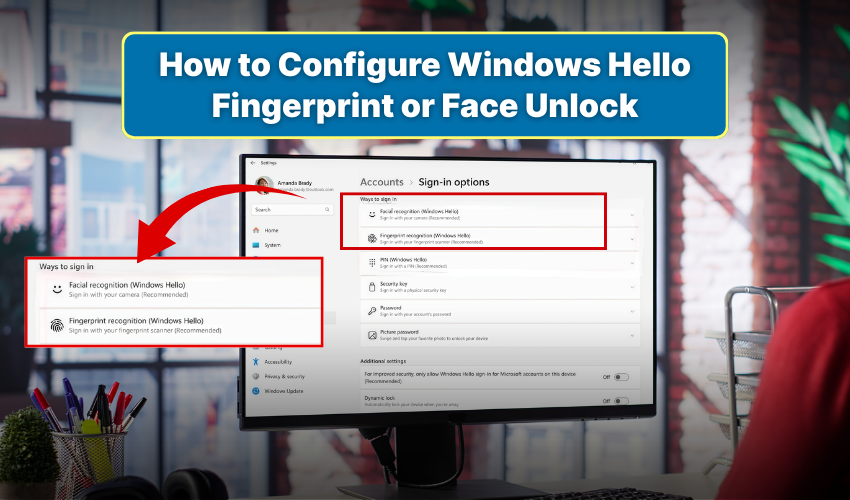
If your computer includes a fingerprint reader, follow these steps to complete the fingerprint setup.
Once finished, you can unlock your device by placing your finger on the sensor. This fingerprint setup makes sign-in nearly instant, while avoiding the need for typing.
Modern devices often include infrared or 3D cameras that support face unlock. If your system has one, use the following steps:
After this process, you can unlock your computer by simply looking at the screen. Face unlock is useful in situations where your hands are busy or your device sits at a desk.
To keep Windows Hello working smoothly, consider the following:
If you experience issues with either fingerprint setup or face unlock, you can reset them easily.
This ensures your system refreshes stored data and resolves most recognition errors.
Windows Hello transforms the login process from a slow password entry into a secure action. You can access your system through a simple touch with fingerprint setup. Face unlock method makes it easy for you to sign in by glancing at your screen. Configuring them requires only a few minutes, and once complete, you will enjoy a smoother and safer sign-in every day.