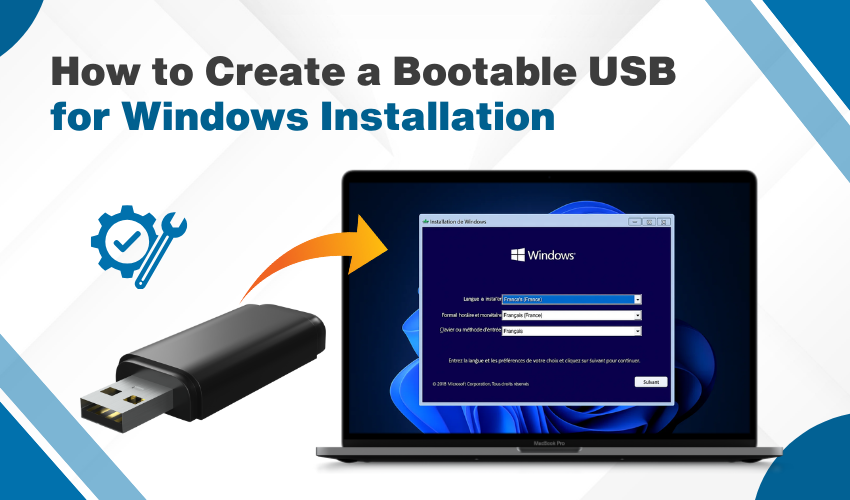
How to create a bootable USB for Windows installation

How to Create a Bootable USB for Windows Installation
Want to install Windows on your computer? You need a bootable USB Windows drive. This helps you install Windows without using a CD. In this article, you’ll learn how to make it step by step using the media creation tool guide.
What is a Bootable USB?
A bootable USB Windows is a USB flash drive that can start your computer. It has Windows setup files on it. You can use it when your system has problems or needs a fresh install. The media creation tool guide helps make this process easy.
Why Use a Bootable USB for Windows?
There are many reasons to use a bootable USB Windows:
- No need for a CD or DVD
- Faster installation
- Easy to carry
- Can be reused
- Works for different computers
The media creation tool guide makes it simple to create one. It’s good for beginners and tech lovers.
What You Will Need
To follow this media creation tool guide, make sure you have these:
- A USB flash drive (at least 8GB)
- A computer with internet
- The Media Creation Tool from Microsoft
- A working USB port
Once all this is ready, you can begin making your bootable USB Windows.
Download the Media Creation Tool
To get started, go to Microsoft’s official website and download the Media Creation Tool. This is the tool that helps you make a bootable USB Windows drive. Make sure you have the right version according to your system. Follow steps:
- Go to Microsoft’s official website
- Find correctly and click “Download tool now”
- Save the file on your PC
This is the first step in our media creation tool guide.
Open the Media Creation Tool
Once it has been downloaded, click to open the file. Click Accept to agree to terms. A message will appear, asking you what you want to do. Then, Choose: “Create installation media (USB flash drive, DVD, or ISO file) for another PC.” This option is key to making your bootable USB Windows.
Set Language and Edition
Now the tool will ask for:
- Language
- Windows edition (like Windows 10 or 11)
- Architecture (64-bit or 32-bit)
Choose the right ones for your computer. If not sure, use the default settings. This part is also included in the media creation tool guide.
Insert and Select Your USB Drive
Plug your USB flash drive into the computer. Make sure it has no files, because the process will delete them all. Follow steps:
- Pick USB flash drive
- Click Next
- Choose your USB from the list
After this, the tool will start downloading Windows and creating the bootable USB Windows.
Let the Tool Finish
This part may take time, depending on your internet. The media creation tool guide suggests not to remove the USB or shut down the PC while it works.
When it’s done, you’ll see a message: “Your USB flash drive is ready.”
How to Use the Bootable USB
After creating your bootable USB Windows, you can use it to install Windows.
- Plug the USB into the PC you want to fix or install
- Restart the PC
- Enter BIOS (press F2, F12, or Delete key)
- Set USB as the first boot device
- Save and exit
- Follow the Windows setup steps
This process follows the same idea as the full media creation tool guide.
Final Tips
- Always use a USB with enough space
- Don’t unplug during setup
- Save important files before installing Windows
- Use the same media creation tool guide if you need to do this again later
Conclusion
Using the media creation tool guide, you can make a bootable USB Windows in just a few steps. It’s easy, fast, and helpful for fresh installs or fixing system errors. Keep this USB safe. It might save your computer one day.
