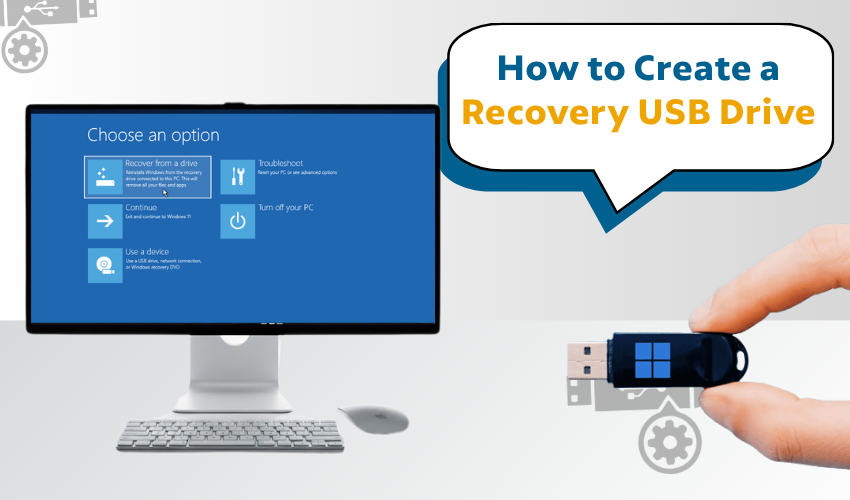
How to create a recovery USB drive

How to Create a Recovery USB Drive
Creating a recovery USB drive is one of the smartest things to do for your computer. It helps when your system stops working or has a serious problem. This guide will show you how to create a recovery USB drive in a simple, step-by-step way. You don’t need to be a computer expert. Just follow the quick and simple steps, and you’ll be ready to fix your PC when trouble comes.
What Is a Recovery USB Drive?
A recovery USB drive is a small flash drive that helps repair or reset your PC. If your system fails to boot, this drive can help you get it back. It holds recovery tools and system files that help bring your PC back to working condition. Creating a recovery USB drive is easy, and it can save your time, data, and stress in the future.
Why You Need a Recovery USB Drive
When your system breaks, you may lose files, settings, and software. But when you create a recovery USB drive, you get a way to fix the problem fast. It lets you access repair tools, restore the system, or even reset the computer. Without it, your PC may stay stuck or become hard to fix. That’s why learning how to create a recovery USB drive is important for every PC user.
What You Need Before You Start
Before you create a recovery USB drive, make sure you have:
- A USB flash drive with 16 GB storage
- A working Windows PC
- Admin rights on the PC
- Enough time (about 10 to 30 minutes)
Also, remember that when you create a recovery USB drive, everything on the USB will be deleted. So, use a new or empty flash drive.
How to Create a Recovery USB Drive – Step-by-Step
Let’s now learn how to create a recovery USB drive with a few easy steps:
- Plug USB flash drive into your computer. Make sure the PC detects it.
- Go to the Windows search bar and type “Recovery Drive.” Click on the app named “Create a recovery drive.”
- You may see a pop-up asking for admin permission. Click “Yes.”
- You’ll see a checkbox saying “Back up system files to the recovery drive.” If you want to reset your PC later, check this box. Then click “Next.”
- Windows will show the USB drive you plugged in. Make sure it's the right one, then click “Next.”
- You’ll see a warning that all files on the USB will be deleted. Click “Create.” Windows will now start to create a recovery USB drive.
- Once done, click “Finish.” Remove the USB and keep it in a safe place. Label it so you know it’s your recovery drive.
When to Use the Recovery USB Drive
You can use it when:
- Your PC won’t start
- Windows crashes or freezes
- You need to reset or recover your PC
Plug it in, boot from it, and follow the repair steps. Knowing how to create a recovery USB drive gives you peace of mind.
Final Tips
- Keep the drive safe and dry.
- Test the drive once to make sure it works.
- Update it if you change your Windows version.
When you create a recovery USB drive, you protect your system. It’s a simple job that can save big trouble later. Everyone should know how to create a recovery USB drive and do it before problems begin.
