Staying safe on the internet has become more important than ever. Many people search for ways to protect their data while they browse websites. One easy method is using a VPN setup Windows method. A VPN (Virtual Private Network) creates a totally safe and secure path between your computer and the websites you visit. When you learn the right VPN setup Windows steps, your private data stays safe, and no one can track your online activity.
VPN stands for Virtual Private Network. It hides your real IP address and makes it look like you are browsing from another location. This helps with secure internet browsing, so no one can see which sites you visit or what you are doing online. It also protects your passwords and personal details.
When you go through the VPN setup Windows process, your connection becomes encrypted. That means the data gets turned into secret code that hackers can’t read. This is great for those who want secure internet browsing at home or while traveling.
Many reasons make a VPN important:
Most people who try a VPN setup Windows process once, continue using it. They notice fewer risks and feel safer while doing secure internet browsing on their laptops or desktops.
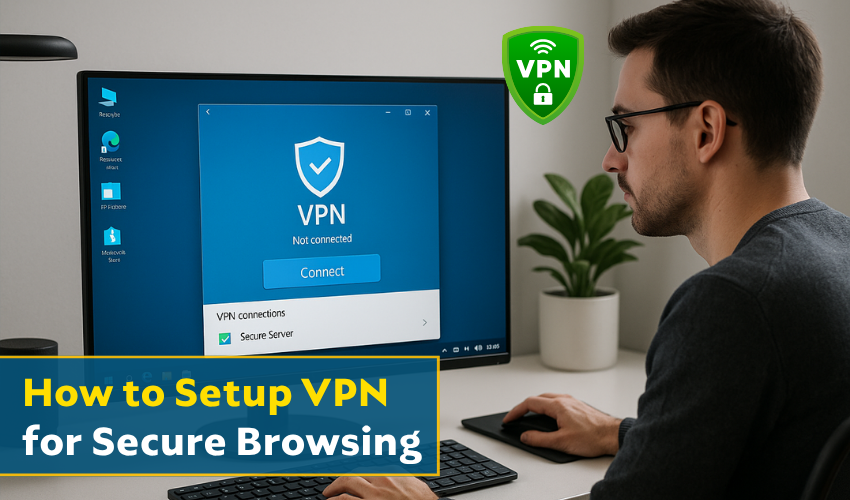
Setting up a VPN on Windows computer is easier than it sounds. Follow these steps to get your VPN setup Windows working:
That’s it! You’ve done your VPN setup Windows correctly. Now your connection is private and ready for secure internet browsing.
There are free and paid VPNs. Paid ones are better for secure internet browsing since they offer faster speeds and more servers. Always check reviews before you download one.
Look for features like:
Using a trusted VPN makes your secure internet browsing smooth and reliable.
These key tips by experts are best for giving you secure internet browsing experience.
Using the right tools for online safety is smart. Learning the VPN setup Windows method doesn’t take long, but it protects you for hours of safe browsing. In just a few clicks, you can experience secure internet browsing anytime, anywhere. This helps keep hackers, websites, and spying tools away from your personal life.