How to Enable Firewall in Windows (Step-by-Step Guide)
Your computer connects to the internet daily, for browsing, emails, downloading files, and more. While doing so, it’s open to outside connections, including unwanted ones. That’s where a firewall helps.
A firewall acts like a gatekeeper. It monitors what goes in and out of your system and blocks anything suspicious. Windows comes with a built-in firewall, but sometimes it's turned off by accident or due to other software. Here's how to check and enable it.
What Is a Firewall?
A firewall is a security tool that blocks harmful connections from the internet or other networks. It helps protect your computer from viruses, hackers, or apps trying to access your system without permission.
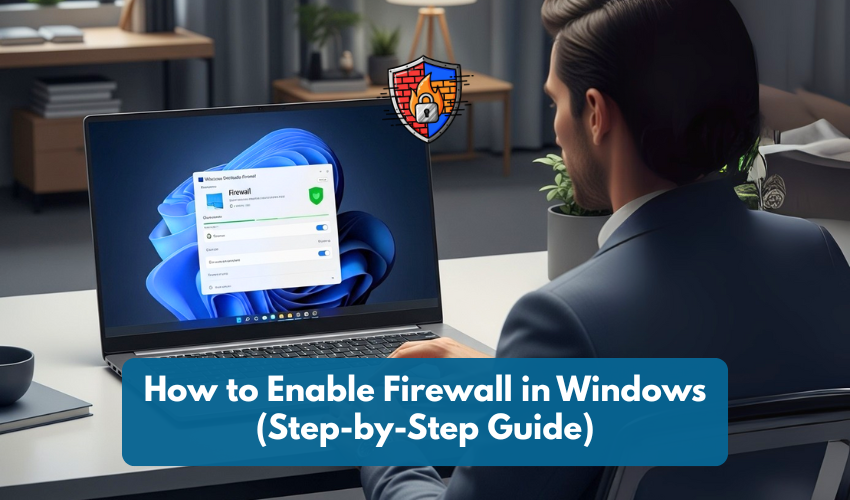
How to Enable Firewall in Windows 11 and Windows 10
Both Windows 10 and 11 follow almost the same steps.
Step 1: Open Windows Security
- Click the Start button.
- Type Windows Security in the search box.
- Click on the Windows Security app from the results.
Step 2: Go to Firewall Settings
- In the Windows Security window, click Firewall & network protection on the left side.
Step 3: Choose Your Network
You’ll see three network types:
- Domain network (used in offices)
- Private network (home)
- Public network (like in cafes or airports)
Click the one that says “(active)” next to it.
Step 4: Turn On Firewall
- Under “Microsoft Defender Firewall,” switch the toggle to On.
- Repeat for other network types if you want all of them protected.
You’re done. Your firewall is now enabled.
How to Enable Firewall in Windows 8 and 7
Step 1: Open Control Panel
- Click the Start button.
- Select Control Panel.
- Click System and Security.
Step 2: Open Windows Firewall
- Click Windows Firewall (in some versions, it might be called "Windows Defender Firewall").
Step 3: Turn It On
- Click Turn Windows Firewall on or off on the left side.
- Under both Private and Public network settings, select Turn on Windows Firewall.
- Click OK to save.
That’s it. Firewall is now protecting your system.
How to Check If Firewall Is Already On
- From Windows Security:
- Go to Firewall & network protection. If it says “Firewall is on,” you’re safe.
- Look for the Shield Icon:
- There’s often a shield icon in your system tray (bottom right corner).
- If it has a green check mark, everything’s fine.
What If You Can’t Turn On the Firewall?
Here are some possible reasons and what to do:
Another Antivirus is Controlling It
Some antivirus software includes its own firewall and may disable the built-in Windows one. You can:
- Check settings inside the antivirus app.
- Or uninstall the third-party firewall if you prefer Windows' own firewall.
Error Messages or Greyed Out Options
This can happen due to corrupted system files or disabled services. Try this:
- Press Windows + R, type services.msc, and press Enter.
- Find Windows Defender Firewall in the list.
- Right-click it and choose Start or Restart.
Still not working? You may need to run a system scan:
- Open Command Prompt as Administrator.
- Type sfc /scannow and press Enter.
Should You Keep the Firewall On?
Yes. Always.
Turning off your firewall exposes your computer to online threats. Even if you have antivirus software, the firewall adds an extra layer of protection.
Only turn it off for a specific reason (like testing), and turn it back on immediately afterward.
Quick Recap:
- Use Windows Security or Control Panel to manage your firewall.
- Always make sure the firewall is ON, especially on public Wi-Fi.
- If you have issues, check for conflicting antivirus software.
Keeping your firewall enabled is an easy way to stay safe online. It takes just a few clicks, and you don’t need to be a tech expert to do it.