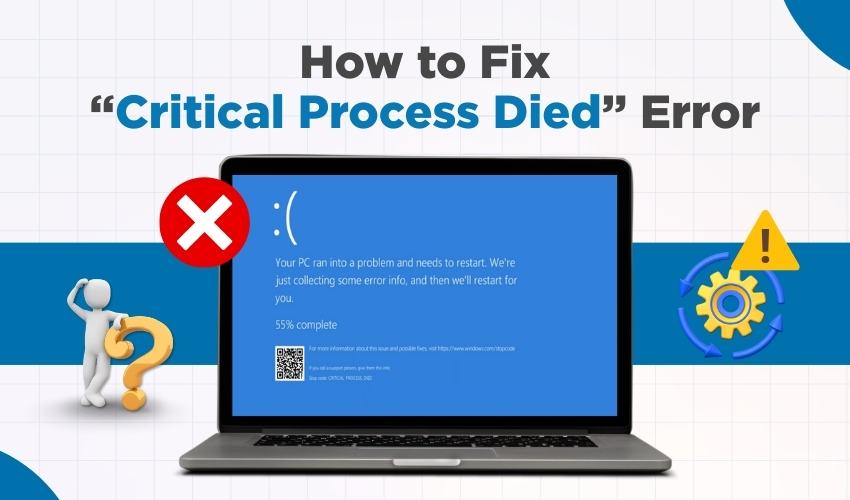
The “Critical Process Died” error is one of the most common Windows errors that causes a sudden system crash and displays a blue screen of death (BSOD). This BSOD fix is highly essential in order to prevent data loss and maintain your PC’s performance. If you face this issue, don’t panic. There are several methods to resolve the Critical Process Died error safely.
Safe Mode allows Windows to start with minimal drivers, which often helps in troubleshooting the Critical Process Died error.
Once you enter Safe Mode, you can check for faulty software or drivers that might trigger the Critical Process Died BSOD.
Corrupted system files often cause the Critical Process Died error. Using the System File Checker (SFC) can repair these files.
Running SFC is a proven Windows error solution, especially when the system files are damaged.
A failing hard drive can trigger the Critical Process Died error. Windows system provides a built-in tool to scan and fix disk issues.
This method often resolves Windows errors linked to corrupted storage sectors.
Outdated or faulty drivers can cause the Critical Process Died BSOD. Updating or rolling back drivers often fixes the issue.
Keeping your drivers updated ensures your Windows system runs smoothly, effectively eliminating BSOD errors.
If the Critical Process Died error appeared recently, restoring your system to a previous state may fix it.
System Restore is a safe BSOD fix for Windows errors caused by recent software installations or updates.
If all else fails, resetting or reinstalling Windows can eliminate persistent Critical Process Died errors.
This step should be the last resort, but it guarantees a fresh start without Windows errors.
By following these steps, most users can fix the Critical Process Died error without professional help. Always back up your data before performing major changes to avoid losing important files. These BSOD fix methods target common causes of Windows errors, making your system stable and reliable again.