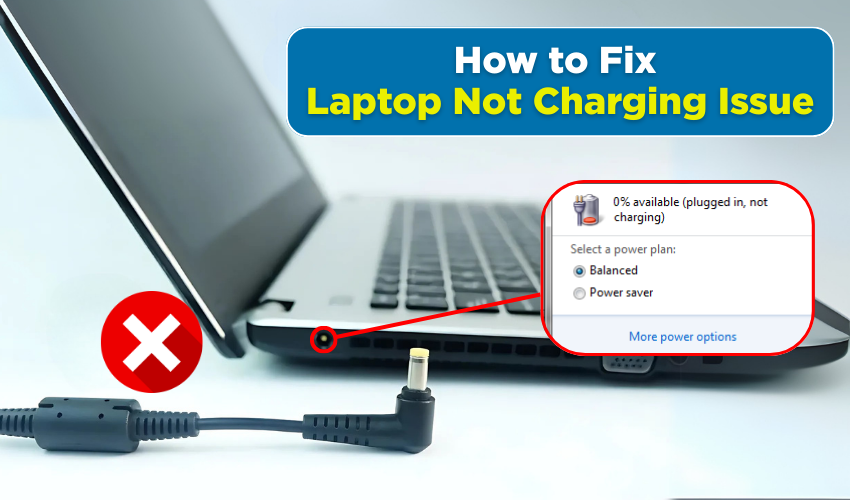
How to fix laptop not charging issue

How to Fix Laptop Not Charging Issue
A laptop not charging can be frustrating, especially when you have urgent work to complete. Many users face this issue due to a power issue or a battery problem. Fortunately, there are several ways to diagnose and fix the laptop not charging problem effectively. The provided detailed guide will help you resolve these issues step by step.
1. Check the Power Source
The first step in fixing a laptop not charging issue is to verify the power source. Sometimes, the problem lies not with your laptop but with the outlet or power strip.
- Step 1: Unplug the charger and try a different electrical outlet.
- Step 2: Avoid using extension cords; connect directly to a wall socket.
- Step 3: If possible, check the outlet with another device to confirm it’s working.
If the laptop still does not charge, the problem may involve the charger or the laptop itself.
2. Inspect the Charger and Cable
A faulty charger or cable often causes a laptop not charging issue. Look for signs of damage.
- Step 1: Examine the charger for cuts, bends, or exposed wires.
- Step 2: Test the charger on another compatible laptop to see if it works.
- Step 3: If damaged, replace the charger immediately to prevent further battery problems.
3. Remove the Battery (If Removable)
Many laptops allow battery removal, which can help in diagnosing a battery problem.
- Step 1: Turn off laptop and then unplug it from the power source.
- Step 2: Carefully remove the battery.
- Step 3: Hold the power button for 30 seconds to drain residual power.
- Step 4: Reinsert the battery and then plug in the charger.
- Step 5: Turn on your laptop to see if the charging issue is resolved.
Removing and reinserting the battery can often reset the power connection and fix minor battery problems.
4. Check for Power Settings and Software Issues
Sometimes, laptop not charging issues result from software or power settings rather than hardware.
- Step 1: First, open Control Panel and then navigate to Power Options.
- Step 2: Ensure the correct power plan is selected.
- Step 3: Update your laptop’s BIOS and drivers from the manufacturer’s website.
- Step 4: Restart the laptop and check if it now charges correctly.
Incorrect software settings can create a perceived power issue even when the hardware is fine.
5. Examine the Charging Port
A damaged or dirty charging port can prevent proper connection, causing your laptop not charging problem.
- Step 1: Turn off your laptop and then unplug it.
- Step 2: Use a flashlight in order to inspect charging port for dust, debris, or bent pins.
- Step 3: Clean the port gently with a dry brush or compressed air.
- Step 4: Plug in the charger and test charging again.
6. Replace the Battery
If your laptop still does not charge after checking the power source, charger, and port, the battery itself may be faulty.
- Step 1: Confirm your laptop model and purchase a compatible battery.
- Step 2: Replace the old battery carefully following manufacturer instructions.
- Step 3: Plug in the charger and turn on the laptop to verify the charging issue is resolved.
Replacing battery usually fixes persistent laptop not charging problems caused by a battery problem.
Conclusion
Resolving a laptop not charging problem involves a step-by-step approach. Check the power source, inspect the charger, remove and reset the battery, review software settings, and clean the charging port. If necessary, replace the battery or seek professional help. By following these steps, you can solve most power issues and battery problems efficiently and get your laptop back to full functionality.
