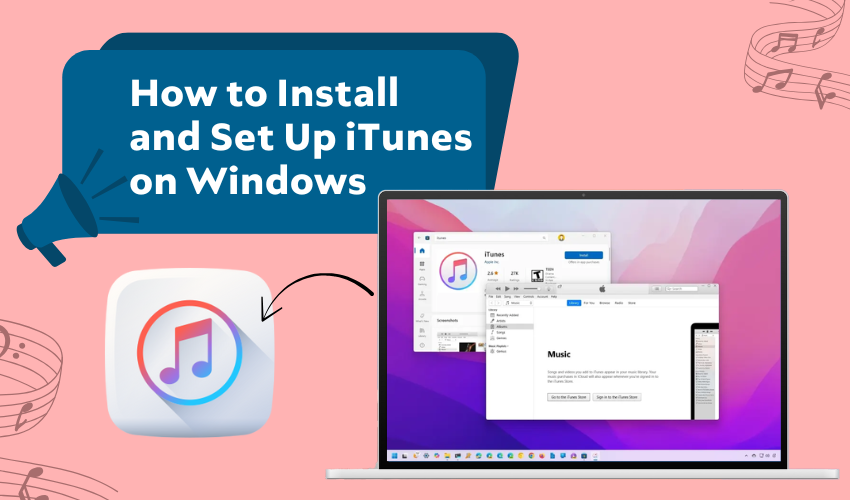
How to install and set up iTunes on Windows

How to Install and Set Up iTunes on Windows
You don’t need a Mac to enjoy Apple’s ecosystem. If you use an iPhone but work on a Windows computer, having iTunes on your PC makes life easier. With iTunes install Windows, you can back up your device, sync songs, and even update iOS without touching a Mac. For anyone who wants to manage an iPhone PC with ease, iTunes is still one of the best tools.
Step 1: Download iTunes from the Right Place
Start by visiting Apple’s official site to get the Windows version of iTunes. Avoid random download sites—they might bring trouble. Once you reach the page, choose the correct version: 64-bit or 32-bit based on your PC.
Click Download, and once it's done, open the file. A pop-up may ask for permission—click Yes to begin the iTunes install Windows process.
Step 2: Follow the Installation Steps
A window will guide you through the setup. You’ll see options like:
- Add shortcut to desktop
- Use iTunes as default for media
Keep them checked or uncheck as you like. After that, hit Install. The iTunes install Windows step should take a few minutes. Once done, click Finish, and iTunes will launch.
Step 3: Set Up iTunes After Installation
When iTunes opens for the first time, it may check for updates. Let it do that. You’ll then need to sign in with your Apple ID. If you don’t have one, you can create it right there.
Logging in helps iTunes recognize your device and makes it easier to manage iPhone PC later on.
Step 4: Connect Your iPhone to PC
Use your regular charging cable to plug your iPhone into the computer. You’ll see a message on your iPhone asking if you trust the computer. Tap Trust.
On your PC screen, an iPhone icon will show up at the top left corner of iTunes. Click it to view your device info and options. This is the main place where you manage iPhone PC tasks.
Step 5: Sync Music and Media Easily
Click the Music tab in the left panel. Select Sync Music, then choose if you want your full library or selected playlists.
Once you’ve made your picks, click Apply. That’s it—your music will start transferring. You can do the same for movies, podcasts, and audiobooks. This feature is one big reason people choose iTunes install Windows.
Step 6: Back Up Your iPhone on Your PC
Backing up is simple. Go to the Summary tab. Under Backups, pick This Computer and then click Back Up Now.
Backing up your iPhone on your computer gives you a safety net if anything gets wrong.
Step 7: Keep Your iPhone Updated
Don’t wait for Wi-Fi updates. When you plug in your phone, iTunes checks for iOS updates automatically. If an update is available, click Download and Update.
This saves you from having to update over a slow connection, and it ensures your iPhone stays current.
Step 8: Share Files and Manage Apps
In iTunes, go to File Sharing. You’ll see apps that allow file transfer between your phone and PC. Drag and drop files, move videos, or copy PDFs without any extra tools. This is another solid reason people use iTunes install Windows—to manage iPhone PC content simply and smoothly.
Final Thoughts
Using an iPhone with a Windows computer doesn’t have to feel like mixing oil and water. With just a few steps, iTunes install Windows allows full control of your device. You can manage iPhone PC files, back up your data, and sync your favorite music—all from your desktop. It’s a small install with a big impact.
