Installing Windows 10 from a USB drive is a smart and easy way to fix or upgrade your computer. You don’t need to be a computer expert to do it. This process is called a DIY OS installation, which means “do it yourself.” With just a USB drive and a few simple steps, you can install a fresh copy of Windows 10 on a laptop or a desktop. Here is how to install Windows 10 via USB step by step.
Go to the Microsoft website on another computer. Download the Windows 10 ISO file. You can also use the Media Creation Tool. This will help you make your USB ready.
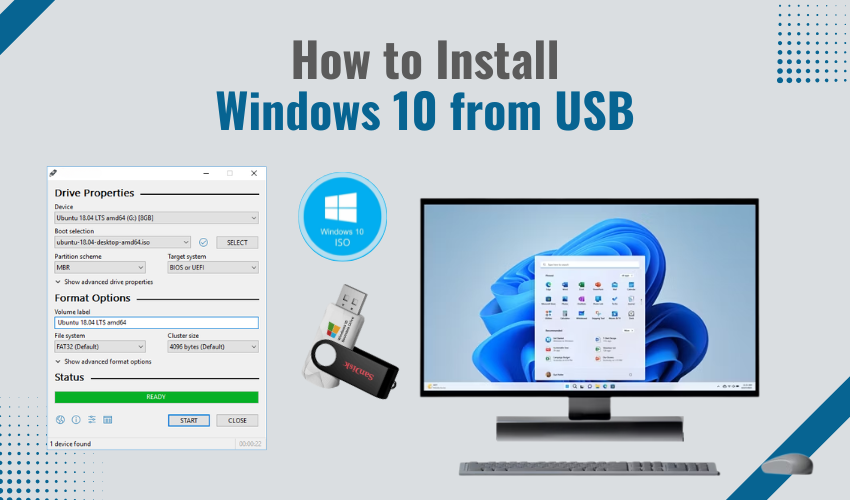
Use the Media Creation Tool to copy Windows 10 to your USB. This makes it a bootable USB. It means your computer can start using it.
Put the USB into the computer where you want to install Windows 10.
Turn on the computer. Press the key (like F2 or Delete) to open the boot menu. Choose the USB from the list.
The Windows setup screen will appear. Choose your language and click Next. Click Install Now. Follow the steps on the screen.
After some time, Windows 10 will be ready. You can now use your computer.
Now you know how to install Windows 10 USB. It’s an easy DIY OS installation process. You don’t need help from anyone. Just follow these easy steps, and your computer will be like new!