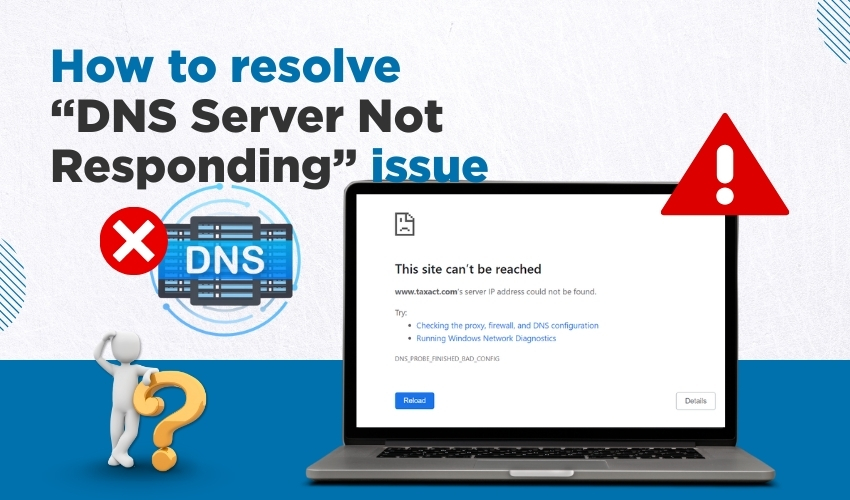
The “DNS Server Not Responding” message often leaves users stuck without access to websites. A DNS server error happens when the system cannot translate a website’s domain name into the correct IP address. Without this translation, browsers cannot load pages. The good news is that this problem can be solved with the right steps. Whether you need a quick internet fix or want to reset Windows DNS settings, the following guide explains three reliable methods.
Restarting the router or modem often clears temporary glitches and restores the connection. This step works as a quick internet fix when facing a DNS server error.
Restarting hardware refreshes the network and allows the system to reconnect properly. If the DNS server not responding issue continues, move to the next method for a more direct Windows DNS solution.
Incorrect or overloaded DNS servers may cause problems. Adjusting Windows DNS settings ensures the computer uses reliable servers.
Switching to stable DNS addresses often clears the “DNS server not responding” warning. Many users report this internet fix works instantly. Keeping backup addresses in Windows DNS settings ensures smoother browsing.
Corrupted cache files can trigger a DNS server error. Flushing and resetting the DNS cache clears old data and restores proper domain resolution.
This step removes outdated entries and forces Windows DNS to fetch new records. It often serves as a strong internet fix when regular restarts fail.
The DNS server error looks serious, but it often has simple fixes. Restart the devices, change Windows DNS settings, or flush the DNS cache to bring back the connection. Using these three steps gives control over the problem and keeps browsing smooth. A steady DNS setup clears the “DNS server not responding” message and helps avoid future breaks.