How to Set Up a New Printer at Home (Simple Step-by-Step Guide)
Setting up a new printer might seem confusing, but it doesn’t have to be. Whether you bought a printer to print documents, photos, or labels, the steps are mostly the same for most home printers.
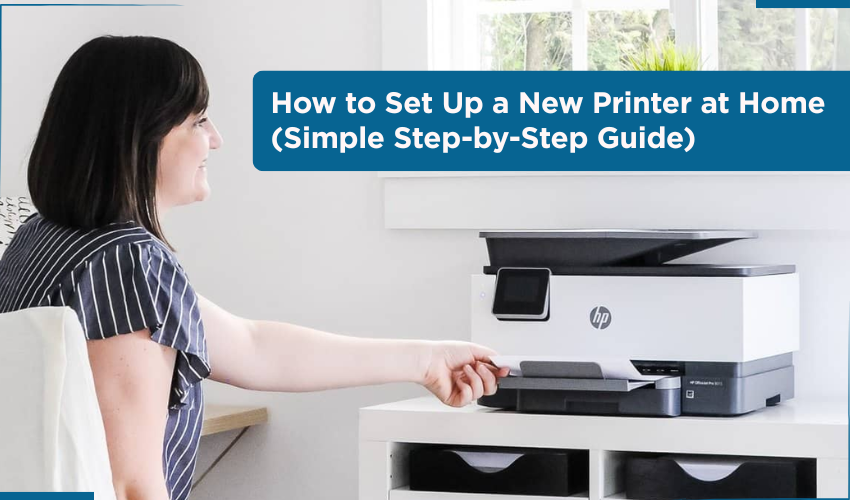
This guide will walk you through every part of the process, from taking the printer out of the box to printing your first page. You don’t need any technical skills to follow along.
What You Will Need:
- A new printer (still in the box)
- A power socket nearby
- A computer or laptop (Windows or Mac)
- A stable internet connection (for wireless printers)
- Printer cable (if it's a wired printer)
- Ink cartridges (usually come with the printer)
- Printer paper
Step 1: Unbox the Printer
Start by carefully opening the box your printer came in.
- Remove all plastic covers and tapes from the printer. Check carefully, some tape is small and stuck in tricky spots.
- Take out the power cable, ink cartridges, and user manual.
- Place the printer on a flat, stable surface close to your computer and a power socket.
Tip: Save the box and packaging in case you need to return or move the printer.
Step 2: Plug in the Printer
- Plug one end of the power cable into the printer and the other end into the wall socket.
- Press the Power button (usually marked with a circle and a line). The printer will turn on. Some models take a few seconds to start.
You might see the screen light up with welcome messages or instructions. Just wait a moment.
Step 3: Install the Ink Cartridges
Most new printers come with ink cartridges inside the box.
- Open the top or front cover of the printer. The spot where the cartridges go will usually move into place.
- Carefully open the cartridge packets.
- Place the black cartridge into the slot marked for black and the color cartridge into the one marked for color. Gently push each one in until you hear a click.
- Close the printer cover.
The printer may make some noises, this is normal. It’s getting the ink ready.
Step 4: Load the Paper
- Find the paper tray. It’s usually at the bottom or back of the printer.
- Place about 20–30 sheets of plain A4 paper into the tray.
- Adjust the paper guide sliders so the paper fits neatly but not too tight.
Your printer might run a test page now. That’s a good sign, it means everything is working.
Step 5: Add Printer to Computer
This part depends on whether you have a wireless (Wi-Fi) printer or a wired (USB) printer.
If You Have a Wireless Printer:
- On the printer’s screen, look for Settings or Wi-Fi Setup.
- Select your Wi-Fi network name (just like you do on your phone).
- Enter your Wi-Fi password using the buttons on the screen.
- Wait for the printer to connect. It may show a message like “Connected” or a green check mark.
If You Have a USB/Wired Printer:
- Plug the USB cable into the back of the printer and the other end into your computer.
- The computer will usually detect the printer automatically.
- If it asks to install drivers or software, say Yes or Install.
Step 6: Install Printer Software on Computer
Most printers need software to work correctly.
You can do one of these:
Option 1: Use the CD that came in the box
- Place the CD into your PC’s CD/DVD drive.
- Follow the instructions on the screen.
Option 2: Download from the Printer’s Website
- Open your internet browser.
- Type in the brand name and model of your printer followed by “drivers.”
For example: HP DeskJet 2332 drivers
- Click on the official website (like hp.com, canon.com, etc.)
- Download the printer software/driver for your Windows or Mac’s operating system.
- Double-click to launch the downloaded file and hit the Install button.
Step 7: Print a Test Page
After printer connection and software installation:
- Open a document on your computer, like a Word file or a photo.
Click File → Print
- Select your printer name from the list.
- Click Print.
The printer should start printing. If the page comes out fine, everything is set up correctly.
Step 8: Set It as Default (Optional)
To make sure your computer always uses this printer:
- On your computer, click the Start menu (bottom-left corner).
- Type Printers & Scanners and click the result.
- Find your printer in the list.
- Click on it, then click Set as Default.
FAQs
Q: What if the printer doesn’t show up on my computer?
A:
This usually happens when the computer and printer aren’t connected properly. First, check if the printer is turned on. If you're using a USB cable, make sure it's plugged in tightly at both ends, into the printer and the computer.
If you're using a Wi-Fi printer, make sure it's connected to the same Wi-Fi network your computer is using. To check that, go to the printer’s screen or menu, find the Wi-Fi settings, and look for the network name (SSID). If it’s connected to the wrong network or not connected at all, follow the on-screen instructions to connect it again.
After that, restart both your computer and printer. Many times, this simple step solves the problem.
If it still doesn’t work:
- Go to your computer’s Printers & Scanners settings.
- Click Add a printer if your printer is missing.
- Follow the on-screen instructions to search and add your printer manually.
Q: What if the printer prints blank pages?
A:
There are a few reasons why your printer might print blank pages:
- Check the ink cartridges – Make sure they’re not empty. Even if they’re new, they might not be installed correctly.
- Remove and re-insert the cartridges – Open the printer cover, take out the cartridges gently, and push them back in until they click.
- Run a printhead cleaning – Go to the printer’s settings menu or use the software on your computer to run the “Clean Printhead” or “Nozzle Check” tool. This clears any dried ink that might be blocking the ink flow.
- Make sure you’ve selected the correct printer – Sometimes the print command goes to a virtual printer like “Save as PDF” instead of your actual printer.
Still blank? Try to print a page from the printer. If that’s also blank, the problem is likely with the ink or hardware. You may want to contact the printer company’s support.
Q: What if I lost the CD that came with the printer?
A:
No need to worry. These days, most printer companies provide free downloads of the setup software and drivers online. Just follow these steps:
- Open a browser and in the search bar, type your printer brand and model number, followed by the word drivers.
Example: Canon PIXMA MG2500 drivers
- Look for the official website, usually ending in .com, like canon.com, hp.com, epson.com, etc.
- On the website, find the Downloads or Help section.
- Select your computer's system (like Windows 10, Windows 11, or macOS).
- Download the full software package or driver setup file.
- Open the file and start installation.
That’s it. It works the same way as using the CD, just a modern way to do it.