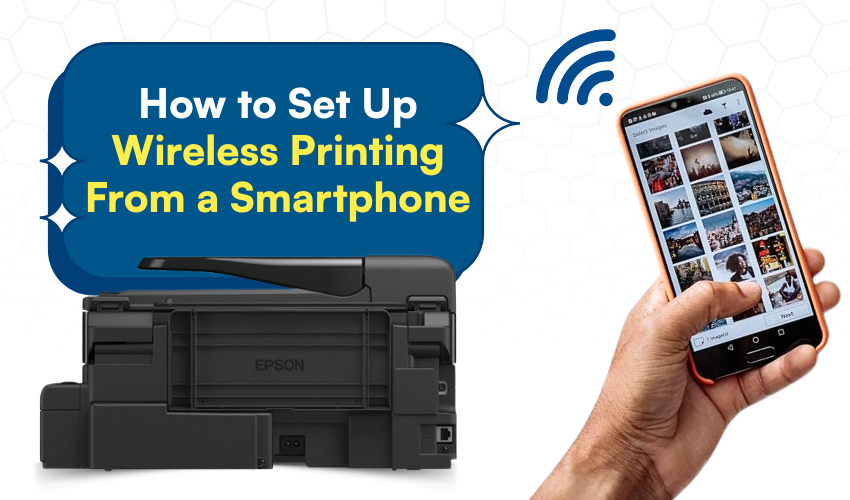
How to Set Up Wireless Printing from a Smartphone
Printing no longer needs wires. With a wireless printer and your phone, you can finish tasks in a few taps. Mobile printing makes it easier to handle work, school, or personal files. This guide explains simple methods for setting up wireless printing from a smartphone. Follow these steps to make your smartphone print documents and photos quickly.
Why Use Wireless Printing
A wireless printer connects without cables, which saves space and time. Mobile printing also allows you to send files from any room at home or even on the go if your printer app supports cloud services. Smartphone print options today support PDF files, images, emails, and web pages.
Method 1: Connect Printer to Wi-Fi
Before starting, your wireless printer must join the same Wi-Fi network as your phone.
- Power on the printer.
- On the printer’s control panel, open Network Settings.
- Choose Wireless Setup Wizard or similar option.
- Pick your Wi-Fi name (SSID) and enter the password.
- Confirm and wait until the wireless printer shows as connected.
Once linked, your smartphone print requests can reach the printer through Wi-Fi.
Method 2: Use Manufacturer Apps
Most brands provide free apps for mobile printing.
- Open Google Play Store or Apple App Store.
- Search for your printer brand, such as HP Smart, Canon PRINT, Epson iPrint, or Brother iPrint&Scan.
- Install the app on your phone.
- Launch the app and allow it to detect the wireless printer on your network.
- Add the printer and test a smartphone print job with a sample photo.
These apps offer full control for mobile printing, including paper size, quality, and number of copies.
Method 3: Apple AirPrint (iPhone and iPad)
AirPrint is built into iOS, which makes mobile printing very smooth.
- Open the file, photo, or email you want to print.
- Tap the Share icon and choose Print.
- Select your wireless printer from the list.
- Adjust options such as copies or range.
- Tap Print and wait for the document to finish.
AirPrint works with most modern printers, so no extra apps are always required.
Method 4: Google Cloud Print Alternatives
Google Cloud Print has been retired, but Android still supports mobile printing through other services.
- On your Android phone, go to Settings → Connected Devices → Printing.
- Enable the printing service that matches your wireless printer brand.
- If needed, install a plug-in from the Play Store.
- Open the file you want to send.
- Tap the menu and select Print, then choose your printer.
This allows smartphone print functions directly from Android without always opening an app.
Method 5: Wi-Fi Direct
If no Wi-Fi router is available, Wi-Fi Direct lets the phone link straight to the wireless printer.
- On the printer, enable Wi-Fi Direct mode from settings.
- On your phone, open Wi-Fi and select the printer’s signal.
- Enter the passcode shown on the printer’s screen.
- Return to your mobile printing app.
- Send a test smartphone print to confirm the setup.
Wi-Fi Direct is useful in offices, dorms, or areas with no regular Wi-Fi.
Helpful Tips
- Keep both phone and printer updated with the latest software.
- Place the wireless printer within good range of the router for a stronger signal.
- Restart both devices if mobile printing jobs fail to go through.
- Use the right paper and ink settings to avoid waste.
Conclusion
Wireless printing from a smartphone is fast once the setup is complete. You can connect through Wi-Fi, use brand apps, try AirPrint, or rely on Wi-Fi Direct. A wireless printer gives you freedom to print schoolwork, office reports, or travel tickets in minutes. Mobile printing removes the need for cables and makes everyday smartphone print jobs easy.