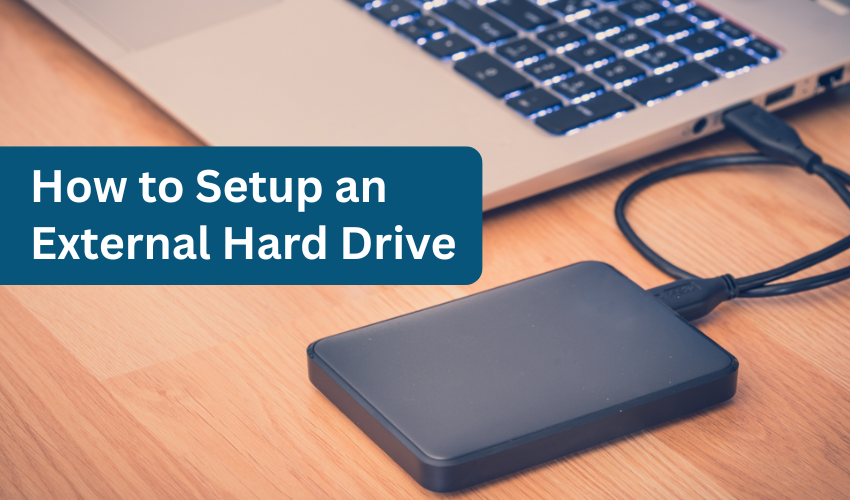
How to setup an external hard drive

How to Setup an External Hard Drive
An external hard drive is a simple tool that can store your files, pictures, videos, and more. It also helps with backups and can make your computer run better. In this guide, you will learn how to setup an external hard drive the right way.
What is External Hard Drive?
External hard drive is a storage device which connects to your computer. It works like your computer’s built-in hard drive, but it’s outside the computer. Many people use it to save files, back up data, or move files from one computer to another.
Knowing how to setup an external hard drive helps you use it properly and avoid problems later.
Why You Should Use an External Hard Drive
There are many good reasons to use an external hard drive. First, it gives you extra space for storing files. If your computer is slow, you can move files to the external hard drive to make more room. Also, it is great for backups. If something goes wrong with your computer, your important files are still safe.
Learning how to setup an external hard drive also helps protect your work and your memories.
What You Need Before You Start
Before you begin, here are a few things you’ll need:
Your external hard drive
- A computer or laptop
- A USB or Thunderbolt cable (comes with the hard drive)
- Power supply (some drives need it)
Make sure your external hard drive is new or already empty. If it has files, back them up before setting it up.
Knowing how to setup an external hard drive means getting these things ready before you plug it in.
Step 1: Connect the External Hard Drive
Take the cable associated with your external hard drive and then plug one end into the drive. Plug other end into your computer’s USB port. If your hard drive needs power, plug it into a power outlet too.
Your computer should recognize the new device. A message may appear on screen saying that new hardware is connected.
This is your first step in how to setup an external hard drive.
Step 2: Format the Drive (If Needed)
Some drives work right away. But others may need formatting. Formatting means setting up the drive so your computer can use it.
For Windows:
- Open File Explorer.
- Right-click on the drive and choose Format.
- Pick a file system like NTFS (for Windows) or exFAT (for both Windows and Mac).
- Click Start to format.
For Mac:
- Open Disk Utility.
- Select your external hard drive.
- Click Erase.
- Choose Mac OS Extended or exFAT.
- Click Erase again.
This is a big part of how to setup an external hard drive because the right format helps your drive work better.
Step 3: Rename Your Drive
Giving your drive a name makes it easier to find later. Right-click on the drive, click Rename, and type a new name like “My Backup” or “Photos Drive.”
It’s a small part of how to setup an external hard drive, but it helps you stay organized.
Step 4: Start Using Your Drive
Now you can move files to the drive by dragging and dropping them. You can also save new files directly to the external hard drive. Some people even install software to back up their computer automatically.
You’ve now completed all the main steps in how to setup an external hard drive!
Tips for Taking Care of Your External Hard Drive
- Don’t unplug the drive while it’s copying files
- Eject it safely before removing
- Keep it in a cool, dry place
- Backup important files often
Conclusion
Now you know how to setup an external hard drive in few quick steps. Whether you need the same for storage, backup, or moving files, it’s a handy tool for any computer user. Just remember to connect, format, rename, and start using it.
Understanding how to setup an external hard drive can help you protect your data and improve your computer’s performance.
