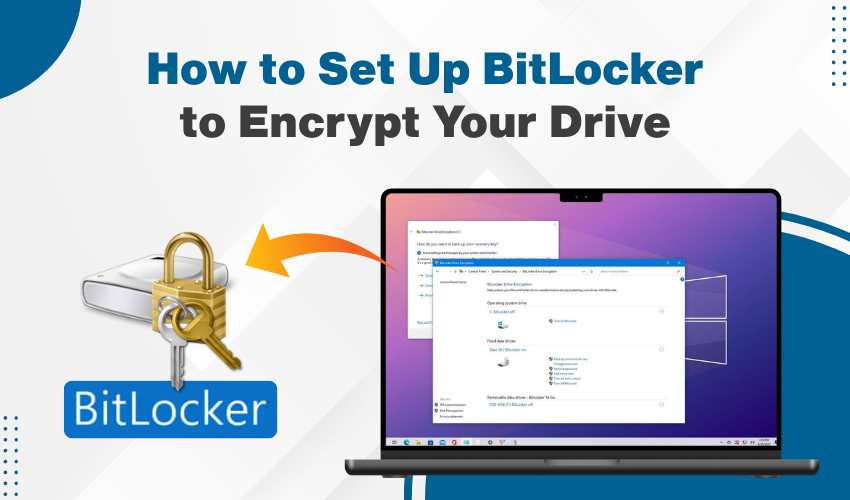
How to setup BitLocker to encrypt your drive

How to Set Up BitLocker to Encrypt Your Drive
BitLocker is an excellent and useful tool that helps protect your important data. In this disk encryption guide, you’ll learn how to enable BitLocker on Windows and make sure your files stay protected. You don’t need to be a computer expert to follow this. Just take each step slowly and carefully.
What Is BitLocker?
BitLocker is a tool integrated in Windows that locks your drive. It uses strong encryption to stop others from reading your files. Even if someone steals your computer, they can’t get your data unless they have your password. This disk encryption guide will help you understand how to use it correctly.
Why Enable BitLocker Windows?
You should enable BitLocker on Windows if you want to:
- Keep your files private.
- Protect work or school documents.
- Lock your USB or external drives.
- Stay safe from hackers.
When you follow this disk encryption guide, your files will be more secure against theft or modification.
Things You Need Before You Start
Before you enable BitLocker Windows, check these:
- You must have Windows 10 Pro, Enterprise, or Education. BitLocker is not in the Home version.
- Your computer needs a TPM (Trusted Platform Module). Most new PCs have it.
- You must be logged in as the admin.
- You need a USB drive or a place to save your recovery key.
The disk encryption guide excellently works best if your system meets all these needs.
Step-by-Step Method: Enable BitLocker on Windows
Below are the steps. Follow these steps:
- Open the Start menu. Type “Control Panel” and click it.
- In the Control Panel, click “System and Security.” Then click “BitLocker Drive Encryption.”
- You’ll see a list of drives. Pick the one you want to lock and then select “Turn on BitLocker.”
- Choose how you want to unlock drive. Most people use a password. You can also use a smart card.
- This part is very important. BitLocker gives you a key in case you forget your password. Save it on a USB, print it, or store it in your Microsoft account. Do not skip this step.
- You will get two options:
- Encrypt used disk space only (faster)
- Encrypt the entire drive (slower but safer)
- This disk encryption guide suggests using the full encryption for best safety.
- You’ll see two more choices:
- New encryption mode (best for new PCs)
- Compatible mode (good for drives you’ll use on older PCs)
- Pick the one that fits your needs.
- Click “Start Encrypting.”
The process will take time depending on how big your drive is. Don’t turn off your PC while it’s encrypting.
After You Enable BitLocker Windows
Once the encryption finishes, your drive is protected. Now, each time you start the computer or plug in the drive, BitLocker will ask for the password. Your files are now much safer than before. This disk encryption guide shows the easy way to get that safety.
Tips for Using BitLocker
- Always remember your password.
- Keep your recovery key in a safe place.
- Don’t share your password with others.
- Turn off BitLocker before upgrading your system.
These tips help keep your system secure even after you enable BitLocker Windows.
Final Words
BitLocker is one of the best ways to keep your data safe. This disk encryption guide helps you turn it on without stress. Once you enable BitLocker Windows, you will feel more at ease knowing your files are protected.
Anyone who cares about privacy should follow this disk encryption guide. It’s better to stay safe than to regret later. Use BitLocker and lock your drive today.
