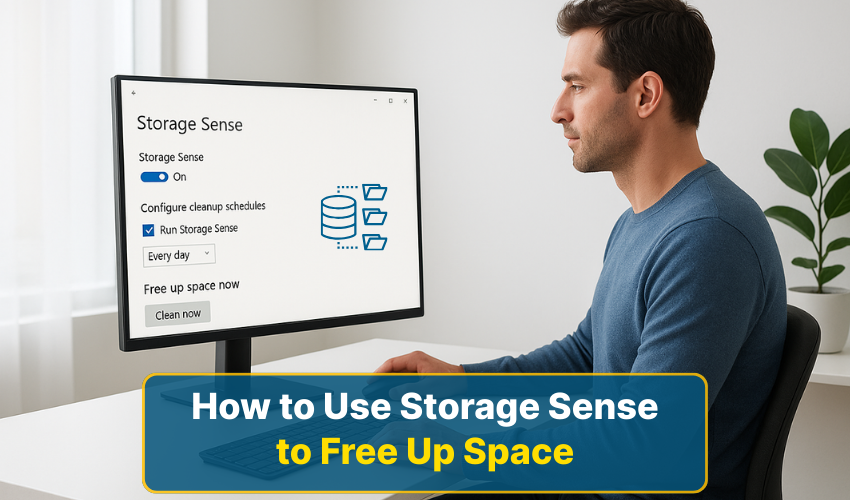
How to use Storage Sense to free up space

How to Use Storage Sense to Free Up Space
Running out of space on your PC can slow down your work and make Windows run less efficiently. Fortunately, Windows provides tools like Storage Sense and disk cleanup to help manage your storage. Using Windows storage features effectively can keep your computer fast and organized. Here are three methods to free up space using Storage Sense.
Method 1: Enable Storage Sense Automatically
Follow the instructions:
- Press Windows + I to open the Settings menu.
- Click on System, then choose Storage.
- Toggle the Storage Sense option to On. This allows Windows to automatically remove temporary files, empty recycle bin items, and clean up old downloads when needed.
- Click on Configure Storage Sense or run it now. You can quickly choose how often Storage Sense runs, such as daily, weekly, or monthly.
- You can also specify when temporary files and recycle bin contents are deleted.
Enabling Storage Sense ensures that the Windows storage is optimized without manually checking for unnecessary files. This automatic cleanup reduces unnecessary clutter and is good at maintaining disk performance.
Method 2: Use Storage Sense for Temporary Files
Below is the step-by-step process. Follow the steps:
- Go to Settings → System → Storage, then click Temporary files.
- Check the boxes for temporary files, downloaded files, and system-generated files you no longer need. Using disk cleanup manually is optional, but Storage Sense simplifies this process.
- Click Remove files. Storage Sense will immediately delete selected temporary files, freeing up valuable space in your Windows storage.
By removing temporary and unnecessary files, you prevent your PC from becoming slow. Storage Sense helps automate this task and keeps your Windows storage organized efficiently.
Method 3: Manage OneDrive and Cloud Storage
Here is the full process. Follow the instructions:
- Right-click the OneDrive icon in your taskbar.
- select Settings → Settings, and check Save space and download files as you use them. This allows you to simply store files in the cloud without taking up local Windows storage.
- Go to Settings → System → Storage → Configure Storage Sense, then choose how OneDrive files are handled.
- You can have Storage Sense automatically free up space by making unused files online-only.
- If you have large files that are rarely accessed, Storage Sense can automatically remove local copies while keeping them safe in the cloud.
This method ensures that your Windows storage is used efficiently. Combining cloud storage with Storage Sense prevents your disk from filling up and improves overall system performance.
Bonus Tip: Use Disk Cleanup Manually
As we know Storage Sense is a great and useful feature. Using disk cleanup occasionally can remove system files that Storage Sense might skip. Press Windows + S, type Disk Cleanup, select your drive, and check system files for deletion. This complements Storage Sense and helps keep your Windows storage free from old updates, log files, and temporary data.
Conclusion
With the help of the provided methods, you can free up space on your PC, maintain faster computer performance, and reduce issues caused due to full storage. Whether you bank upon Storage Sense, manual disk cleanup, or cloud storage, managing your Windows storage is effective for smooth functioning of your computer.
