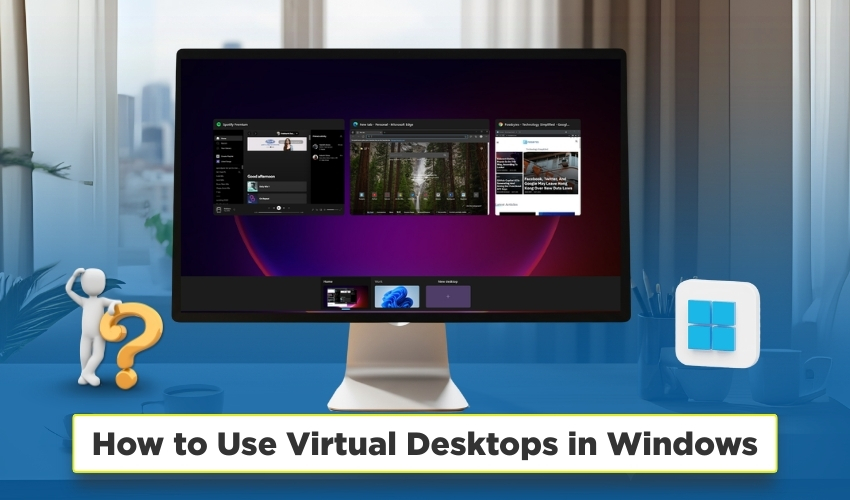
How to use virtual desktops in Windows

How to Use Virtual Desktops in Windows
Windows offers a powerful feature called virtual desktops that helps you organize your work and improve productivity. If you often juggle multiple apps and tasks, virtual desktops can make your life much easier. They let you create separate workspaces for different tasks without cluttering a single screen.
What Are Virtual Desktops?
A virtual desktop is like having multiple screens on one computer. Instead of opening everything on one desktop, you can create different desktops for different purposes. For example, one desktop can be for work apps, another for school projects, and another for personal browsing. This keeps your Windows workspace clean and organized.
Method 1: How to Create a Virtual Desktop in Windows
Follow the instructions below:
- Hit Windows key + Tab to open Task View.
- Click New Desktop at the top of the screen.
- A new desktop appears. You can now open different apps on this desktop.
- Switch between desktops using Windows key + Ctrl + Left/Right arrow.
Method 2: Using Virtual Desktops for Multitasking
Multitasking becomes much easier with virtual desktops. Follow these steps:
- Open Task View (Windows key + Tab).
- Choose a desktop for your first task, such as work apps.
- Create another desktop for a second task, like social media or personal browsing.
- Switch between desktops quickly using Windows key + Ctrl + Left/Right arrow.
This setup allows you to focus on one task at a time while keeping your Windows workspace tidy.
Method 3: Customizing Your Windows Workspace
Here are the steps you need to follow:
- Open Task View (Windows key + Tab).
- Right-click the desktop you want to rename.
- Select Rename and type a name like “Work” or “Gaming.”
- Press Enter to save the name.
This helps you remember which desktop is for which task and makes multitasking smoother.
Method 4: Moving Apps Between Desktops
Follow the provided steps:
- Open Task View (Windows key + Tab).
- Right-click the app you want to move.
- Select Move to and choose the desktop number.
- Alternatively, drag and drop the app to another desktop.
This method keeps your Windows workspace organized and allows you to rearrange apps as needed.
Method 5: Closing Virtual Desktops
Here is the full process. Follow the steps:
- Open Task View (Windows key + Tab).
- Hover over the desktop you want to close.
- Choose the X button in the top-right corner.
- Any open apps move to previous desktop, keeping multitasking smooth.
Tips for Effective Use
- Use separate desktops for work, study, and entertainment purposes.
- Keep your main desktop minimal for quick and easy access to essential apps.
- Switch between desktops using keyboard shortcuts for faster multitasking.
Conclusion
Using virtual desktops in Windows is a smart way to manage multiple tasks without clutter. They improve multitasking and make your Windows workspace more organized. Once you get used to them, switching between work, school, and personal activities becomes seamless.
Mastering virtual desktops can save time, reduce stress, and keep your Windows workspace neat. Start using them today and experience a more organized and productive Windows experience.
